How to use Cloudflare’s tunnels(Zero Trust) to connect to the SSH of the intranet PC
This way is free. Except a domain, you don’t need to pay for any service.
You can buy any cheap domain, e.g., .info, .me domains.
It’s the best way to replace frp and ngrok solutions.
- While using
frp, you have to have your own remote server. - While using
ngrok, you have to pay for the fixed subdomain, otherwise it will change everytime you reboot your intranet machine.
Preparation
- Cloudflare account.
- A domain name with DNS point to cloudflare.
- Bind it with you credit or debit card. You don’t need to pay.
Configuration
On Remote Server
- First, login to Cloudflare.
- Go to Cloudflare dashboard. From left sidebar select Zero Trust ➤ Tunnels.
- Click Create a tunnel blue button.

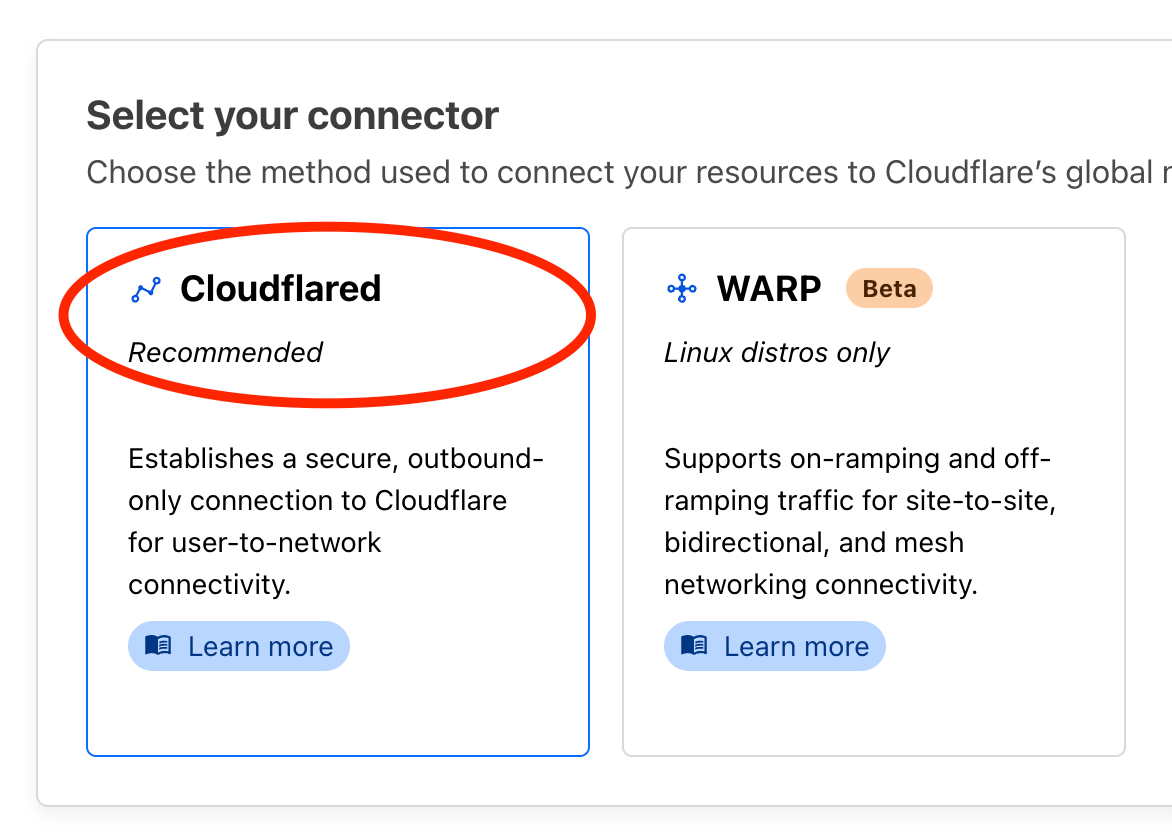
- At Select your connector page, select Cloudflared as connector and click Next.

- Enter a tunnel name at Name your tunnel page. Any name is fine, you can change later. Then click Save tunnel button.
- In Install and run a connector page, select your intranet machine OS. For me, my remote server is Debian 64bit, so it should be following.

Run the given command on you remote server installing thecloudflaredwith token. Then click Next button. - In next step, add a Public Hostname, and config it as:
- Subdomain: can be any string or empty.
- Domain: select the domain you had binded to cloudflare.
- Path: (keep blank)
- Type:
SSH - URL:
localhost:22
Then click Save hostname.
If you are using MacOS as remote server, you need to turn off the MacOS sleep mode.
On client machine
- On client/local machine, go to install cloudflared to your client machine download correspond client
cloudfaredand install it. - Edit
~/.ssh/config, add following 2 lines:Host ssh.awaimai.com ProxyCommand /usr/local/bin/cloudflared access ssh --hostname %h - Now you can use
sshto connect to your intranet pc from anywhere.ssh [email protected]